No products in the cart.
Art Considerations for DTF Transfers
Dane Clement, Great Dane Graphics, is here to help you make your products the best they can be
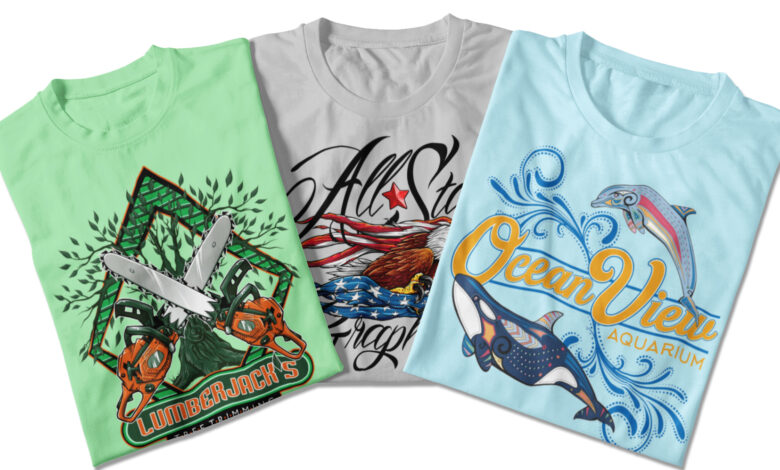
There are so many decorating methods out there today, and one of the newest and fastest-growing is direct-to-film or DTF transfers. It’s a great option for those wanting to get into the garment decorating business without all the added equipment costs. Create your own designs and submit them to a service provider for production. All you need is a heat press to apply to your garments and you are ready to sell. When creating your designs, however, what are some things to consider so that your final products will be the best they can be? Here are some points to ponder to help you in your design process!
DTF Art Consideration #1: No color limits
With decorating methods like screen printing, for example, you are limited by the number of colors you can print. The more colors, the higher the cost, not to mention more time involved with separations, exposing screens, and set up on press. Since DTF is a digital printing method, there’s no limit to the number of colors you can print. Print one-color designs, gradients, textures, full-color illustrations, or photographs without differences in time or cost.
DTF Art Consideration #2: Show through
When printing a design, regardless of the method, the more ink, vinyl, or whatever product is applied, the heavier the feel on the shirt. A large image with no cavities incorporated into the design will feel thick and stiff, AKA “bulletproof.” The product can then make the garment hot and uncomfortable to wear. DTF naturally has a softer feel than some production methods.
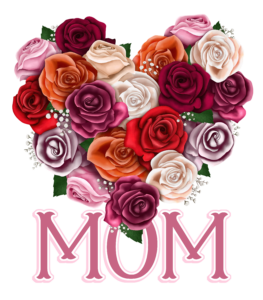 |
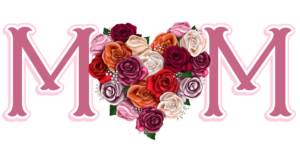
Creating a layout that includes gaps or openings throughout the design allows the shirt to show through. It will have an even lighter feel and will be more comfortable to wear. (Images courtesy Great Dane Graphics) |
DTF Art Consideration #3: Personalization & customization
Because DTF is a digital printing method, it gives you the freedom to print as little or as many copies as you need. The beauty of this is that it allows you to create custom, personalized layouts. You can design a layout using a person’s photo and include the name or initials, print one or two copies, and then you can change the name and photo quickly and easily and print the new layout. This is great for team sports or fanwear, where you can switch a player’s name, number, or photo.
 |
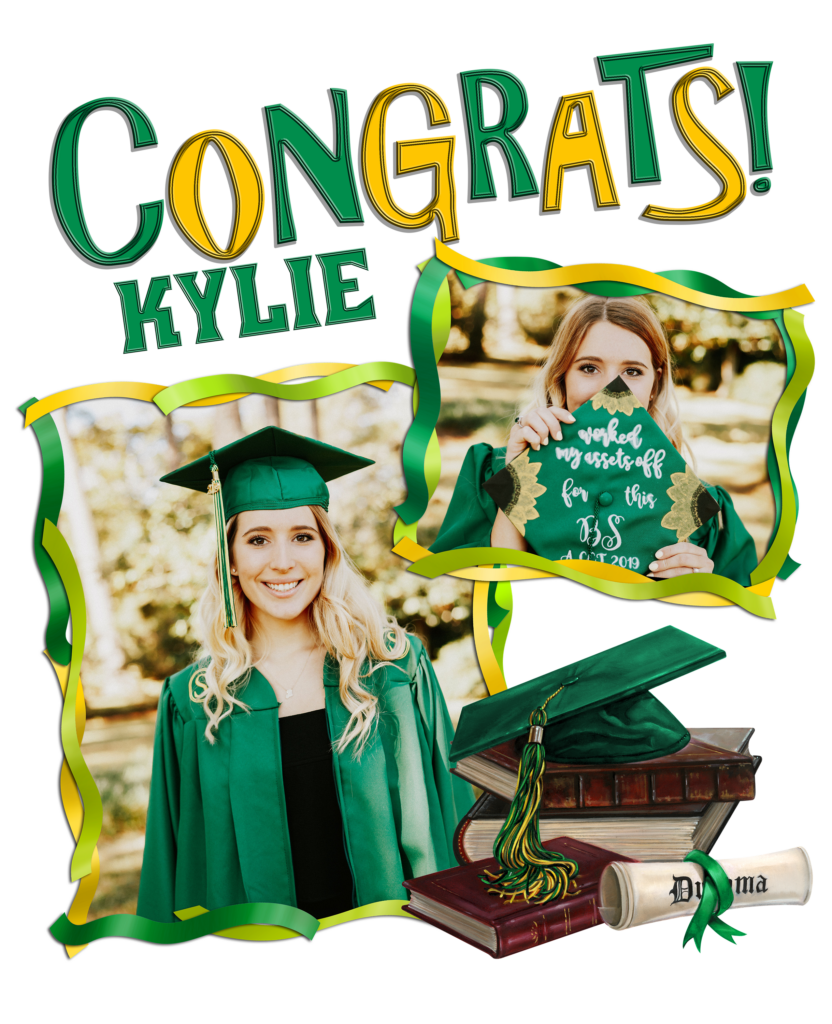
Images courtesy Great Dane Graphics |
Create a library of templates to have on hand to show customers. They can choose a layout and provide their information, which you can then change in your art file and then have the transfers printed. It’s an inexpensive option for you and your customers to get custom, personalized layouts quickly and easily.
DTF Art Consideration #4: Small details
DTF is great for small details. It’s capable of holding dots and lines as small as .018 inches. This allows for fine details as well as small floating type. Now you no longer have to use larger or bolder fonts or contain your text in a shape. It’s great for creating small layouts like shirt tags to print on the inside backs of shirts.

Image courtesy Great Dane Graphics
DTF Art Consideration #5: Faded edges
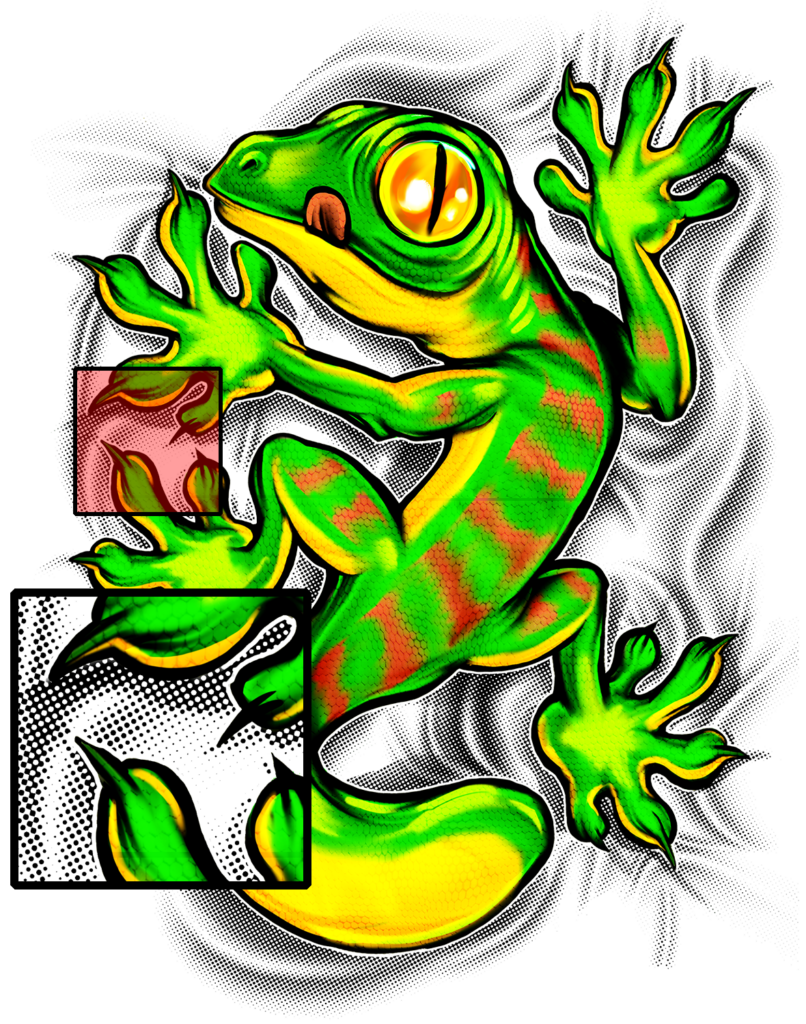
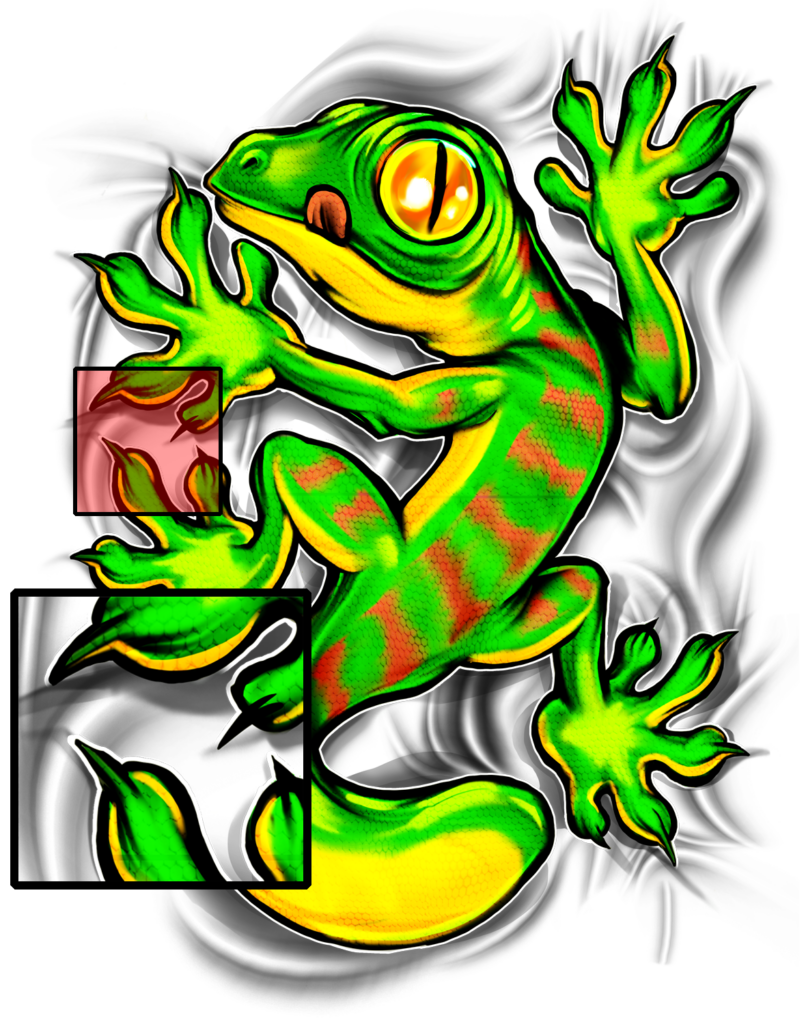
While DTF can hold small details, images with faded edges that blend into the shirt still don’t have a large enough dot size to adhere to the shirt. The size of the ink droplets applied to the shirt are too small to hold the adhesive needed to stick to the shirt. The edges can become splotchy when the dots aren’t held on the shirt.
 |
Images courtesy Great Dane Graphics |
Using designs with hard edges eliminates this issue. Another trick that you can use to incorporate faded edges is to apply a large halftone dot screen to the image. Duplicate your color image and change it to grayscale. Ensure all the important interior area is solid black, but allow the faded edges to remain. Change the image to bitmap applying a halftone screen with a 5-10 LPI frequency. The edges will be turned into large dots. You can then apply this as a mask to your color art, allowing you to retain the idea of the faded edge, just with larger dots. Any dots smaller than .018 inches can be erased since they won’t be held on the garment anyway.
Direct-to-film is sweeping the garment decoration industry. By incorporating these tips and checking with your transfer provider for any other specifications they require, you can create and set up your artwork so the transfers print correctly and you get the best results possible when they’re pressed on your products.

Leave a Reply
You must be logged in to post a comment.