No products in the cart.

Tips and Tricks to Create a More Efficient Workflow for the Design Process
When starting a design from scratch, having a standard workflow for your process can make it more efficient, helping you complete the design quicker, and reducing or possibly eliminating revisions. Now, using AI as a tool and incorporating it into your design process will make it even more efficient. Here are some tips and tricks that I like to implement in my design workflow.
It's All in the Details
First and foremost, when you meet with your customer to discuss the job, make sure to get all the necessary details.
- What is the design for?
- Do they have any ideas on what they would like to see — images to include, any particular art style, etc.?
- What do they want to include in the layout along with the main image — logos or type such as the name of the event or date?
- Can they provide files of logos if needed?
- If there is a specific object such as a car that they want to include, do they have reference photos they can provide you, and if so, do they have the license to use these images? If they are going to provide you any files, make sure they understand that you need high-resolution files at actual size, because anything other than that will not produce a quality print. If the provided file is something you can upscale using software like Upscayl or Topaz to get better resolution or recreate the image from scratch, let them know if there will be additional art fees.
Once you’ve got all the details you need for the design itself, you must get all the production details.
- What will this be printed on and where — full front, full back, left chest, sleeve?
- What are the dimensions needed, especially if the image will be applied in multiple locations or on different products at different sizes?
- What color(s) will the garments or products be?
- What type of production process will be used?
- If the design is going to be screen printed, how many colors can be used?
Getting all the details you can at the beginning prevents a lot of headaches down the line and saves you time in the long run. It can be such a hassle to complete a layout and find that it’s missing some text or it’s going to be screen printed and can only print six colors on a red shirt when you’ve created a beautiful full-color design with a multitude of colors that would be perfect for a digital print. Now you have to go back and adjust the layout to add the text or adjust the colors so it can print in six colors including a base white and black.
Granted, there will always be times, when customers have afterthoughts and decide, “Oh, can we change this or add that?” There’s no escaping that, but doing your due diligence and getting all the information possible up front can make those instances few and far between.
And So It Begins!
Image 1. All images courtesy of Dane Clement
Now you’ve got all your information. How are you going to start? I’m a true believer in brainstorming sessions. If you have a design team, or even just you and one other person, start spit balling ideas. Two heads are better than one, right? The more input you have, the faster you can create a concept to get you rolling.
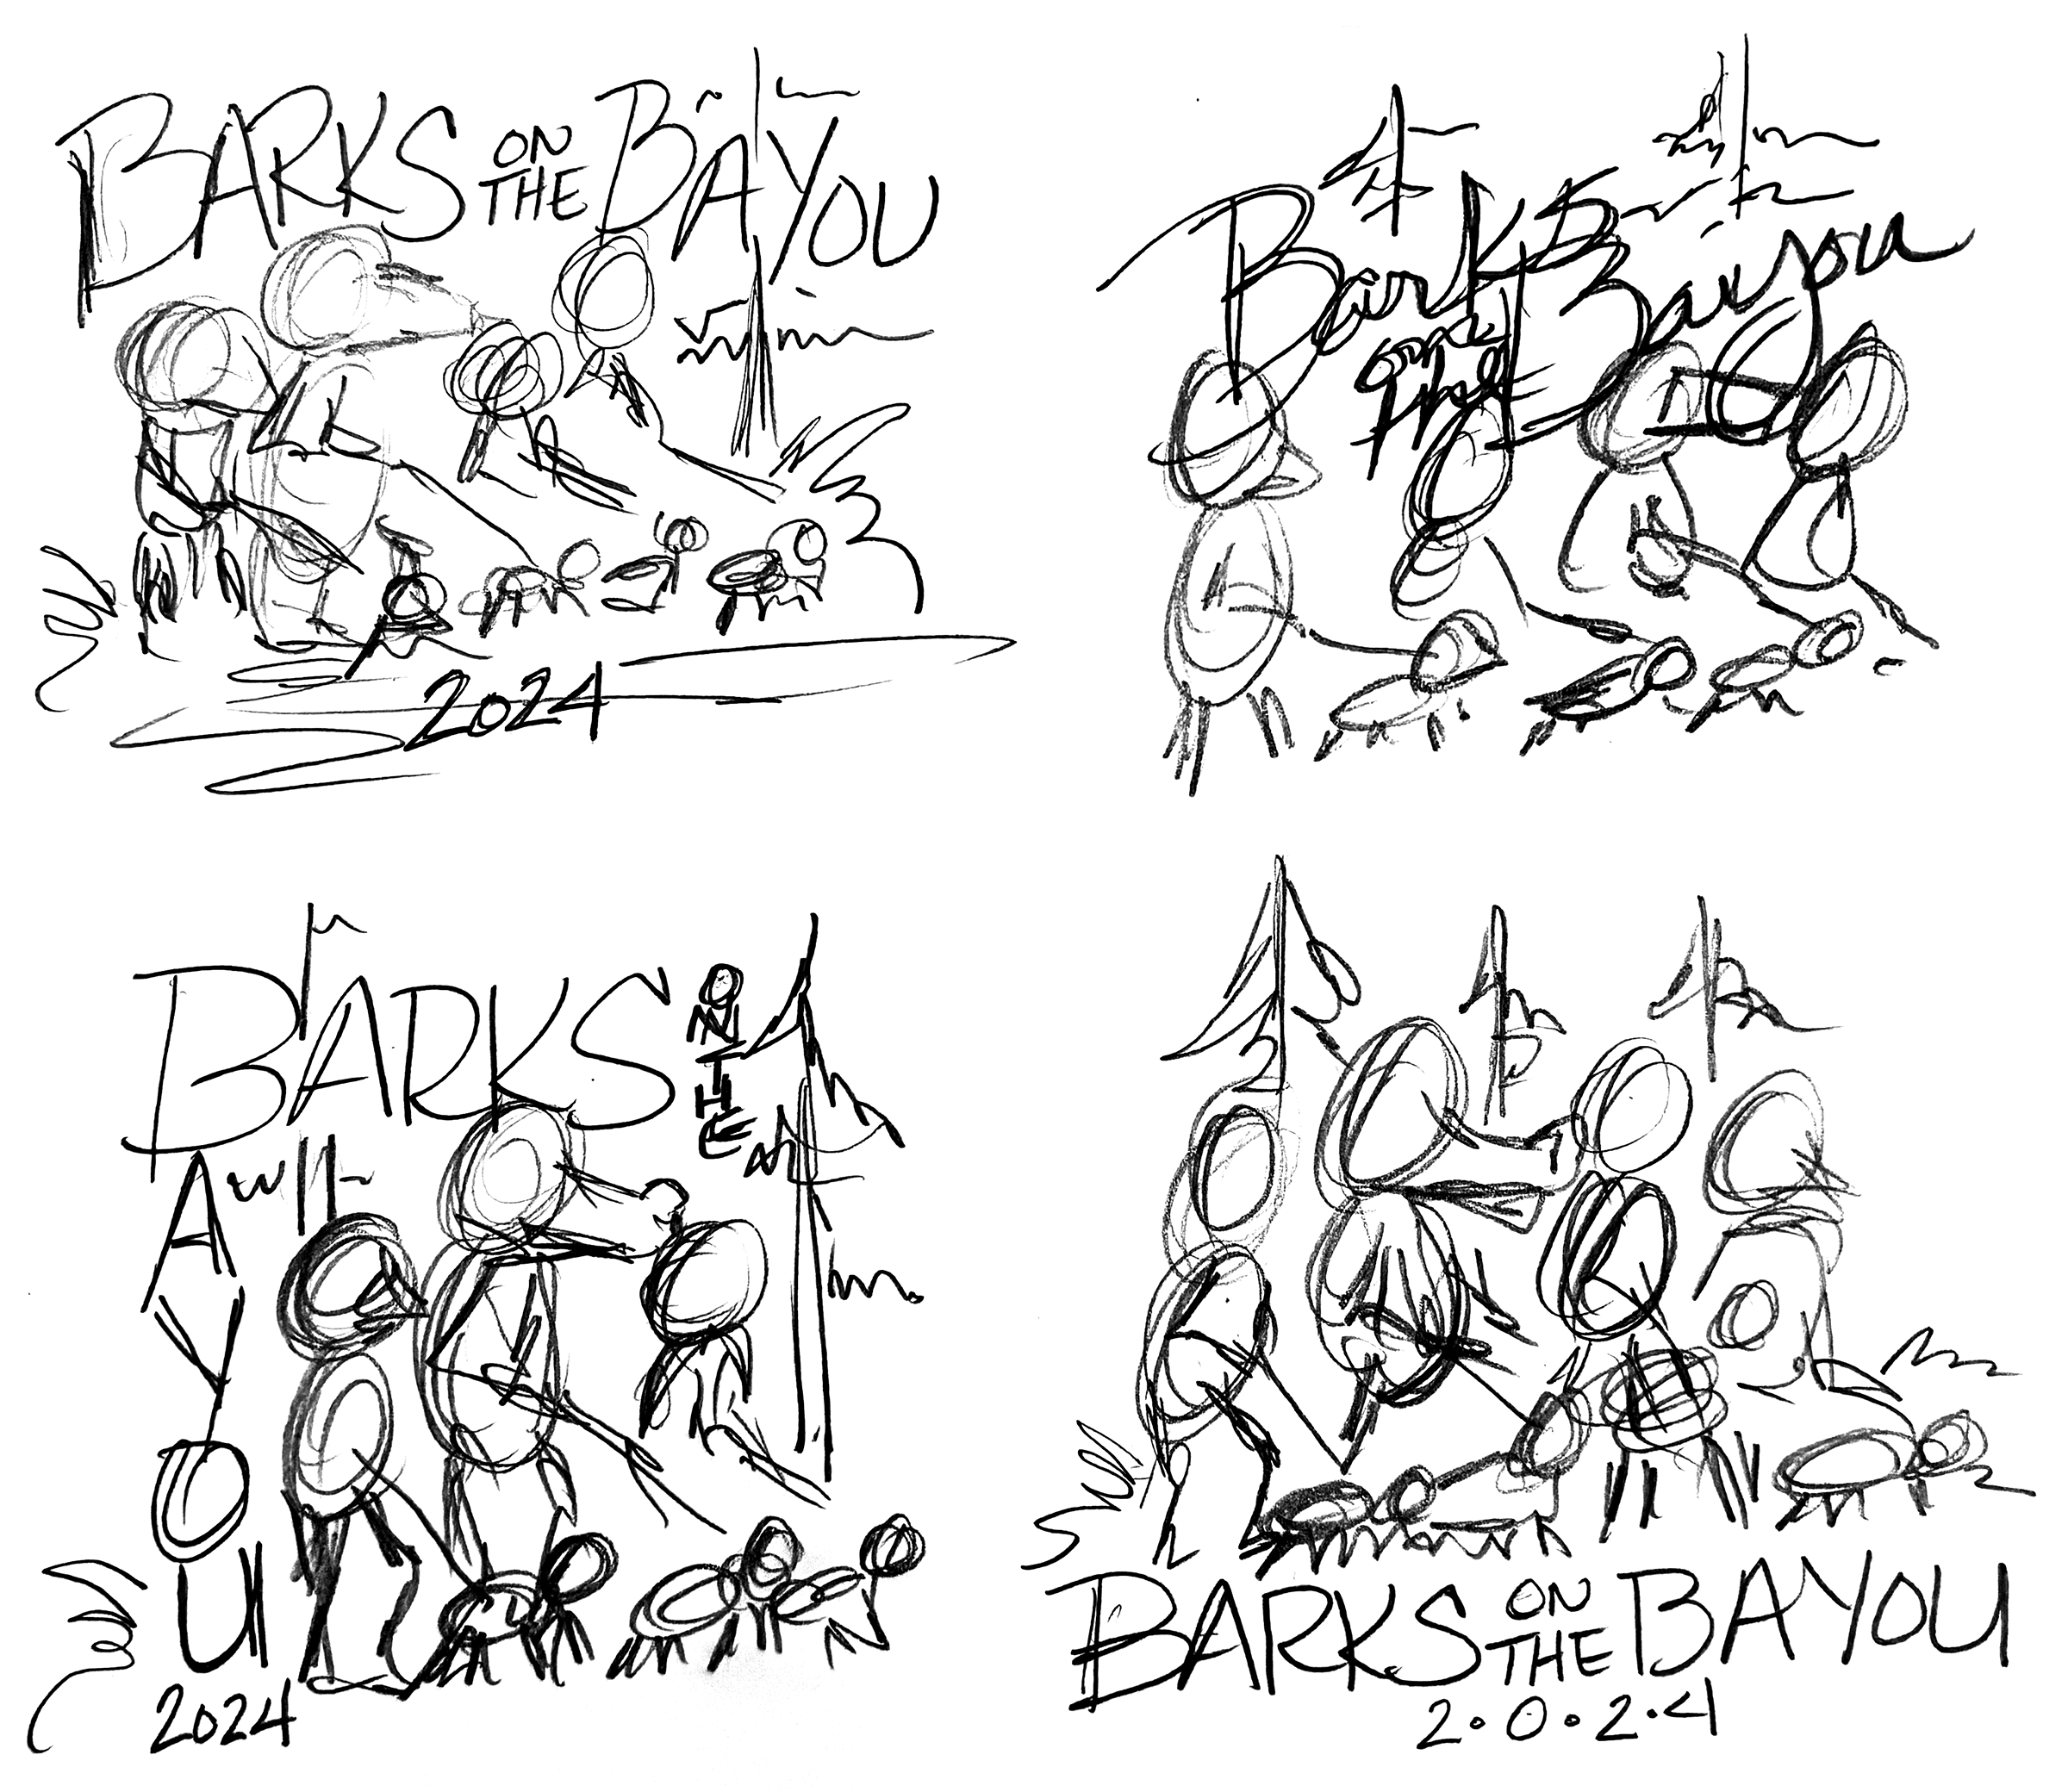
Do some rough thumbnails as you work through ideas. Get a general idea on where elements will be placed. It doesn’t have to be a tight sketch, but it helps to get the ideas out of your head onto paper to help you visualize things better (Image 1).
In the past, this would have been your only option to get started with your design. You would research images online for references, or do like I used to do before Google was a thing: Rummage through a morgue file made up of thousands of scrapped magazine photos in hundreds of categories to spark your imagination and get the right reference images to create a layout. Now with the availability of AI, you can brainstorm ideas with programs like ChatGPT. Put in the general information you have about the design and instantly you have a list of ideas to get your juices flowing.
Here’s a prompt example: “What are some ideas for icons, themes, or images to use in a T-shirt design layout for a 5K run to raise money for animal shelters in southeast Louisiana.” ChatGPT might give a response like, “For a 5K run to raise money for animal shelters in Southeast Louisiana, the T-shirt design can blend elements of fitness, community, and animal advocacy with regional flair. Here are some ideas for icons, themes, and images to incorporate into the layout,” and then provide a list of ideas for icons you can use like paw prints and running animals.
Get a list of theme ideas, design layout ideas, and regional imagery ideas like, “Southern wildlife – include native animals like alligators, birds, or even crawfish in a fun, cartoonish way, running alongside pets.” It’s just like brainstorming with another person. It’ll provide you with a plethora of ideas that you can then take and work on pencil sketches for layouts.
Image 2
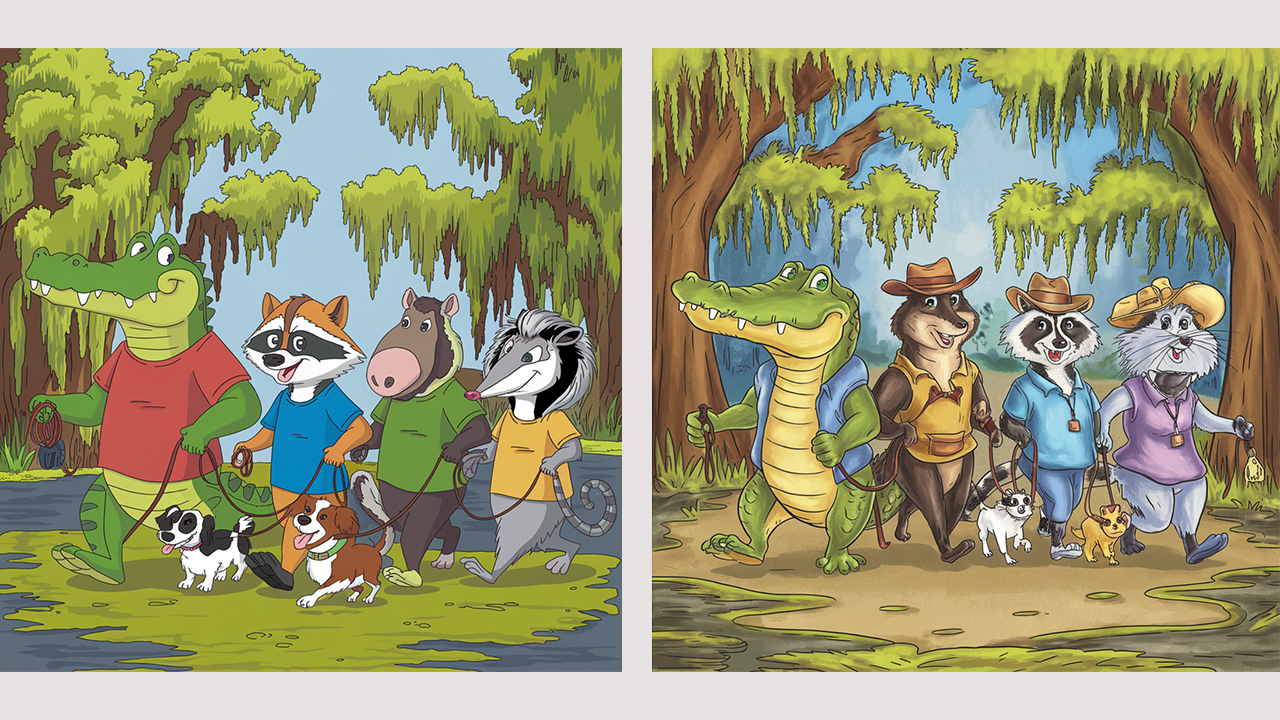
While ChatGPT can help provide you with ideas on what kinds of things to incorporate in your layout, generative AI apps like Midjourney, Ideogram, and Leonardo AI can take those ideas and generate layouts for even more inspiration. Using terms and ideas from ChatGPT, enter prompts in the generative AI apps describing possible layouts you would like to generate such as, “Illustrated drawing of cute, animated, cartoon wildlife animals such as alligator, nutria, raccoon, and opossum happily walking their pets, Louisiana bayou background with cypress trees with Spanish moss hanging from the branches” (Image 2).
Change up the prompts, try different ideas, and see what you get. With the tools we now have available in ChatGPT and generative AI software, it’s easy to brainstorm, even without others around, to get concept ideas down on paper.
Tightening It Up
Once you’ve got your idea ironed out and know the direction you want to go in, create a tight pencil sketch or rendered layout of the elements you may have put together from various AI generated images to show your customer (Image 3). I like to offer a couple of concepts when time permits. Providing initial concepts to the customer allows them to make any changes upfront and hopefully prevent additional changes later when the layout is complete. It’s a lot easier to make changes to a pencil sketch or rough initial AI art concept then to have to break apart, move objects around, and possibly repaint areas of a final layout.
Image 3
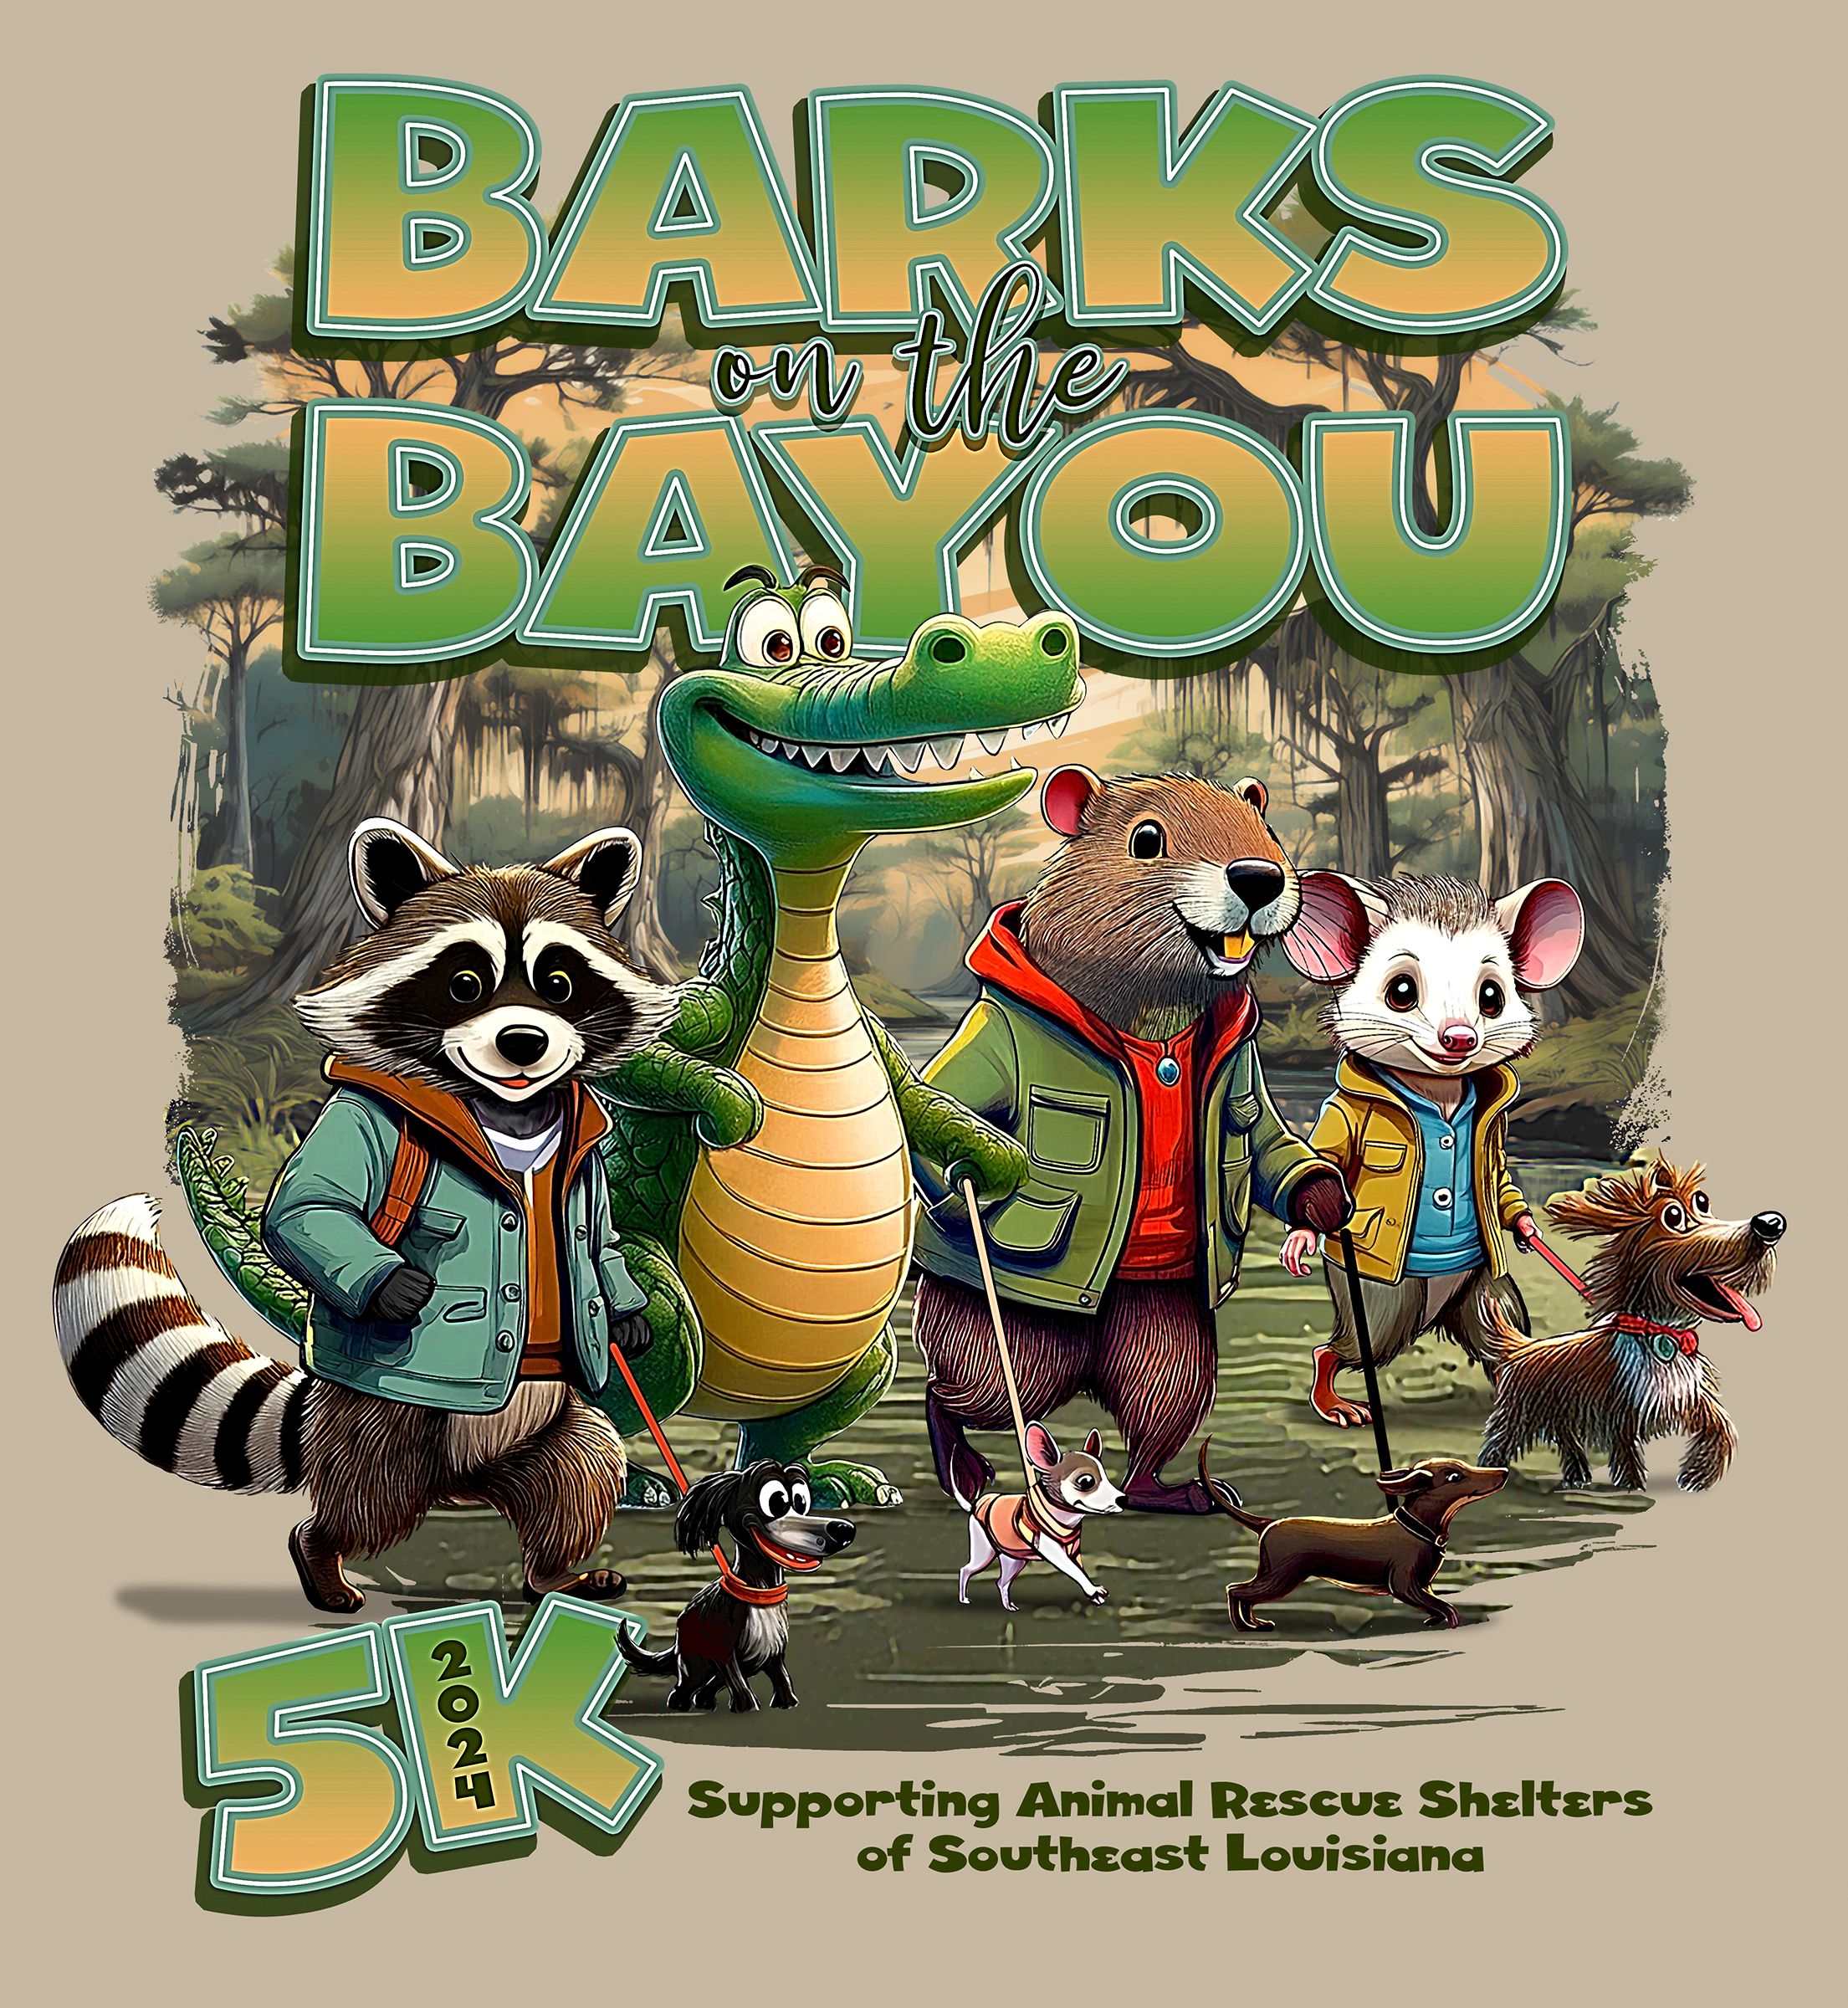
When the client approves the concept, you’re ready to move onto the final, colored layout. Make sure your final files are set up at the appropriate size and resolution based on the information you obtained from you customer in the beginning. Paint your elements from scratch, or use the elements you generated using AI and tweak them to finalize the layout with the type, logos. and any other necessary elements (Image 4).
Make sure as you create your layout, it meets all the necessary criteria required by your customer. Will it be production friendly for the decoration method you plan to use? For example, direct-to-film cannot easily produce images with faded edges. You will need to take that into account and either create a design that does not use faded edges, or have a plan, such as using larger halftones dots, to make them work.
Image 4
Will the number of colors you are using in the design work for your production process? Colors aren’t limited for digital processes, but it’s definitely something you need to be aware of if you will be screen printing.
Once your design is complete, you’re ready to show your customer. If you’ve followed all the information you’ve gathered, and the customer doesn’t throw you any last-minute curve balls, you should get a quick OK and be on your way to production.
Don’t get caught in the end and waste time needing to make corrections that could have been prevented if you had done your due diligence in the beginning. Getting all the info you need up front makes the initial design process go quicker and helps prevent unnecessary headaches and costly, time-eating changes in the end.


Leave a Reply
You must be logged in to post a comment.