No products in the cart.
Using Shape Tools in the Pathfinder Panel for Vinyl Cutting
Follow these tips to make vinyl cutting paths flow seamlessly
When creating artwork for vinyl cutting, you need to use vector artwork which is made up of shapes created from a series of points and paths. Vinyl-cutting software uses these points and paths to tell the cutter where to cut. As you start to build your design with the various shapes, you’ll need to unite and/or knock them out of each other so that the paths flow from one to the other making cutting seamless. In Adobe Illustrator, the Shape Tools found in the Pathfinder Panel are just what you need to do this.
Unite
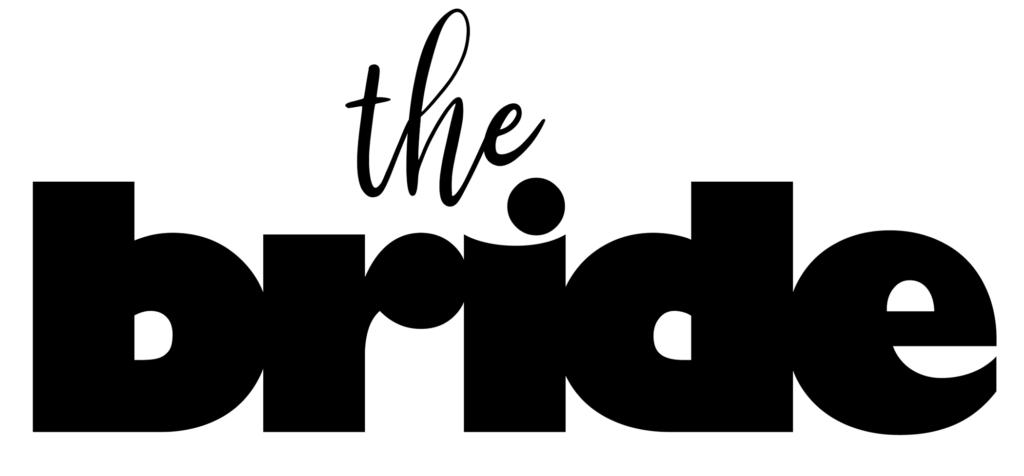
Image 1
When drawing the various pieces of your design, you may have shapes that overlap. When viewing your image in Preview Mode, you won’t be able to see where the overlaps occur (Image 1). Instead, view it in outline mode. In this example, the type was used instead of drawn shapes. Once the text is converted to outlines, the letters overlap (Image 2) and need to be united so it becomes one shape. If they are left as separate pieces, the software will read each path, and the cutter will cut around each shape. Where the lines overlap, the vinyl will be cut into small separate pieces where it should be one piece.
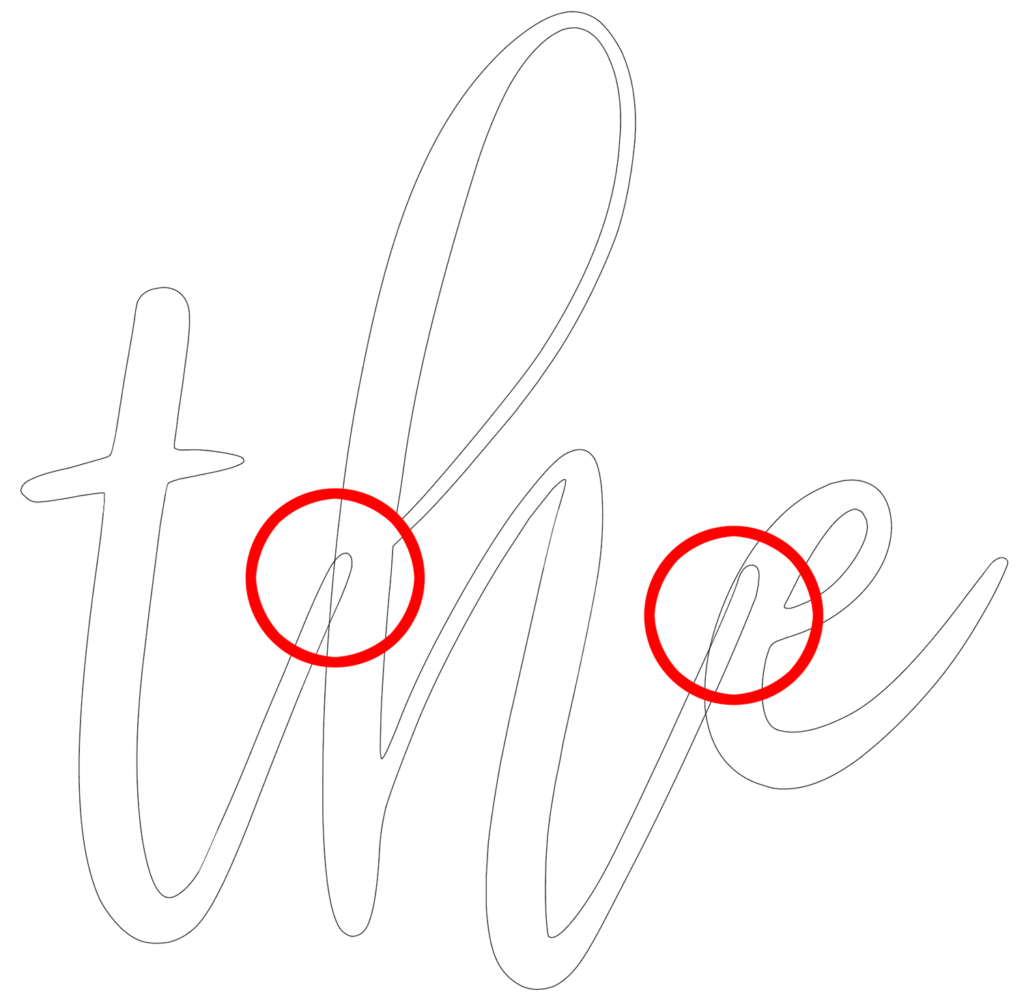
Image 2
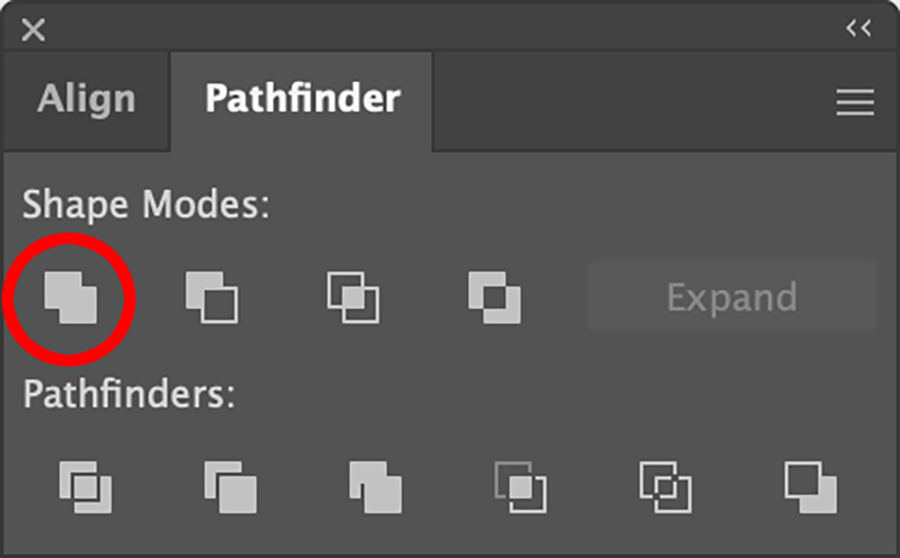
Image 3
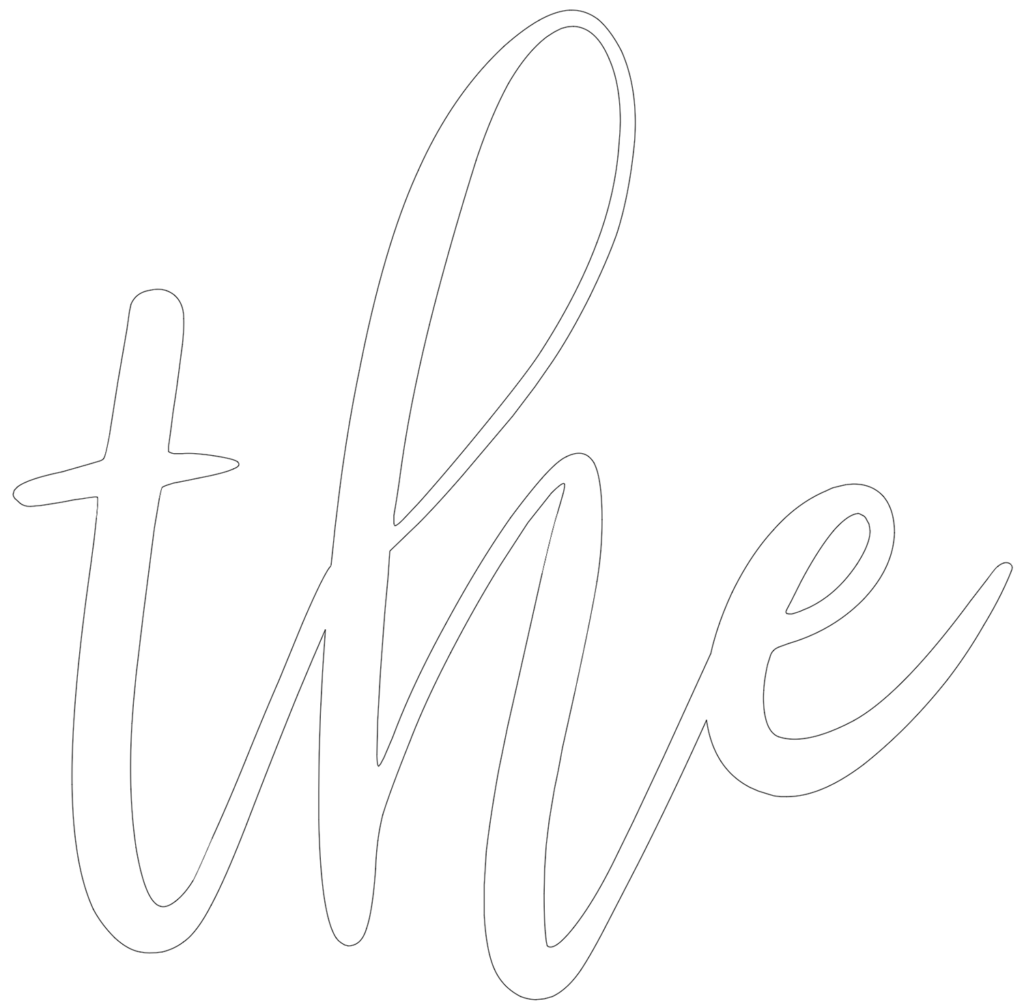
Image 4
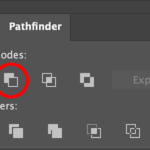
To join all the pieces together, hold down the Shift Key and click on each shape that overlaps. Click on the Unite button in the Pathfinder Panel (Image 3), and all the pieces will automatically be joined together. All the overlapping lines will disappear (Image 4).
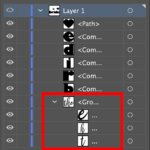
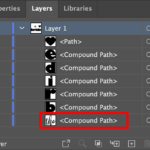
If you look at the layers in the Layers Panel, you’ll notice that the individual layers for each layer merge into one path once they are united (Images 5 & 6). Sometimes, depending on the number of shapes or the complexity of the shapes, when they are united, instead of becoming a compound path, they may become a group, as in the example of the word Bride (Images 7, 8, & 9). The dot from the letter I remained on its own layer, while the rest of the word united to make one. When this happens, go to the Object Menu > Compound Path > Make. The group will then become a compound path (Image 10).
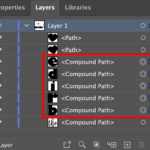
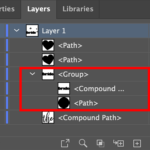
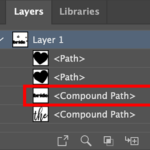
For this layout, the dot was deleted from the I and a heart was put in its place by adding the heart and then using the unite tool again to join it with the rest of the word.
Minus front
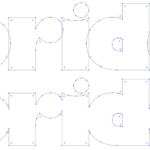
Another pathfinder function that is commonly used when creating vinyl cut designs is Minus Front (Image 11). This option is used to knock out shapes. In this layout, hearts were added in the center of the letters B, D, and E. The hearts were larger than the centers in the B and D and could be placed on top so the centers fell within the heart shape. Since the heart in the E was smaller, the center was deleted (Image 12).
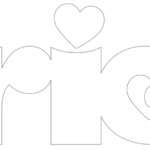
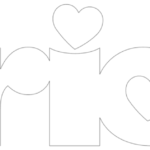
The heart for the B was selected along with the word bride, and then the Minus Front option was used to knock out the center, making it the shape of the heart. This was repeated for each of the other hearts (Image 13). When using this option, make sure the piece you will be knocking out is on top of the shape that it will knock out of. (Image 14)
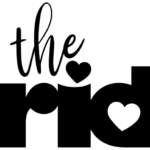
Something to consider when using either of these features is that once the function is performed, the top layer will automatically be deleted. If you need to use that layer for something else later, duplicate it so, you’ll have an extra copy. Another thing to remember is that the shapes need to be a path or compound path in order to work. You can’t use a group. So, if, for example, you use one of these options and the resulting shape becomes a group instead of a compound path, as mentioned earlier, you will need to make that group a compound path before you can use it again to unite or knock out of any other shapes.
When creating vinyl cut layouts, using these options is a great time saver and helps make creating your designs a lot easier!

Leave a Reply
You must be logged in to post a comment.